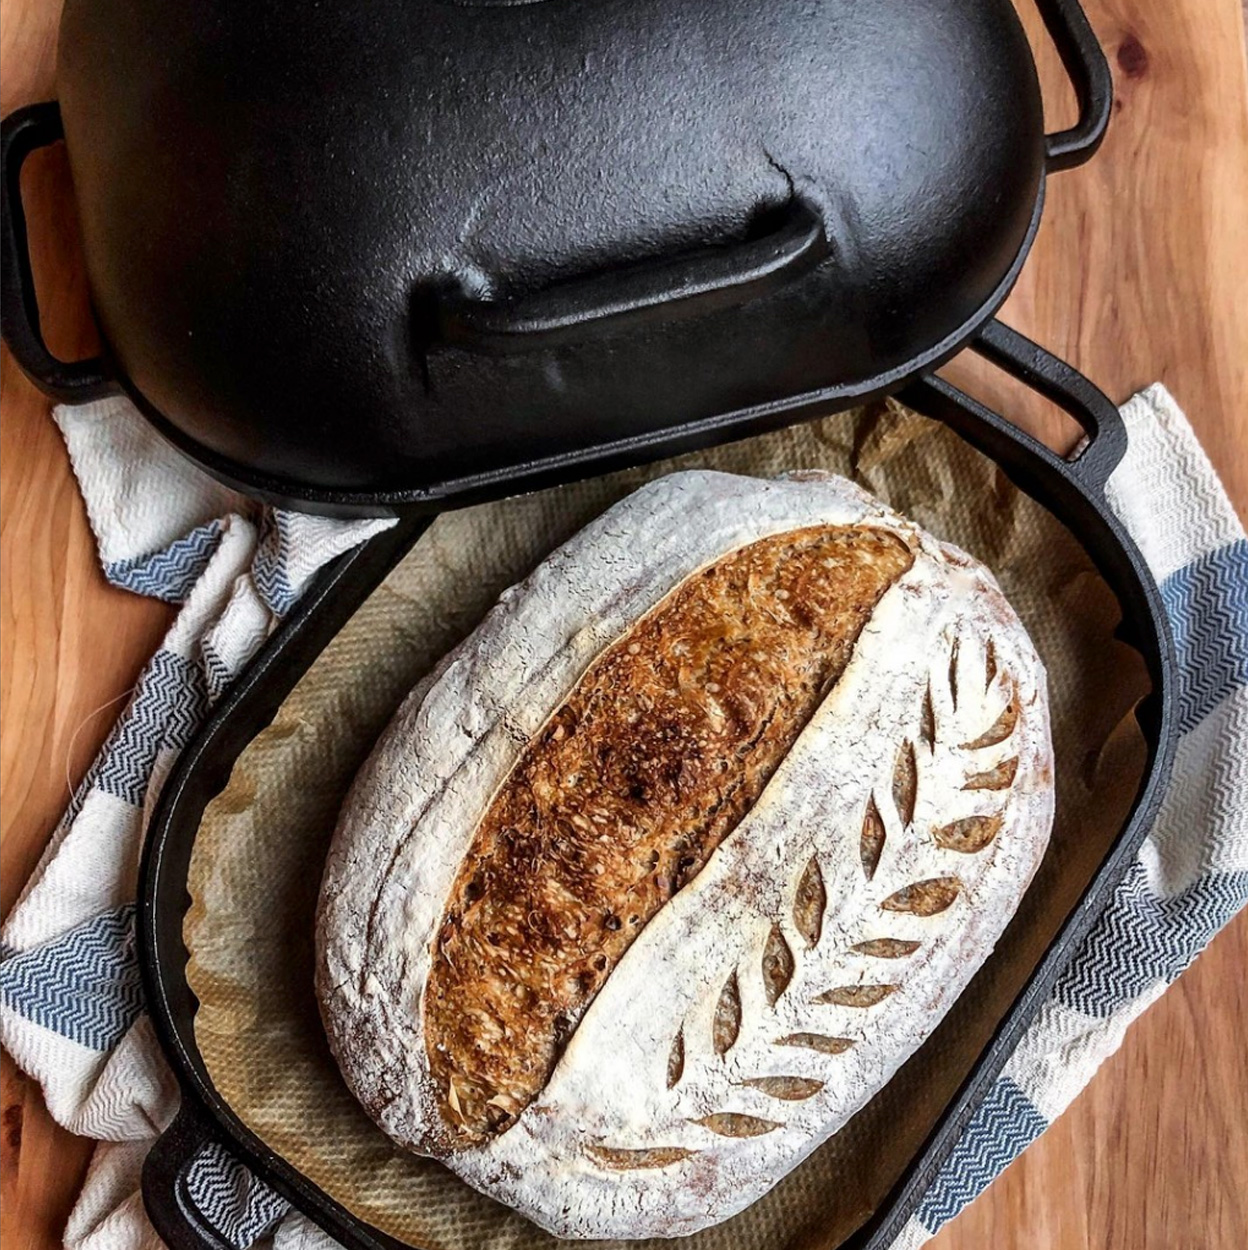
Cast-iron is the perfect material for cooking artisan breads. Let’s take a look how to get the best from it.
Challenger Bread Pan Care & Use
Before your first bake
The Challenger Bread Pan® comes pre-seasoned ready to use, straight out of the box. Simply, use a damp cloth to wipe the pan.
Getting used to the pan
The pan retains heat for long periods. Therefore, you may need to adjust your baking times. We recommend noting the heat and bake time, during the first few times you use it. You may notice some smoking occur. This is safe to ignore and will not impact your bread creations.
It’s also important to ensure the pan is not left to cool unattended.
If you’d like to know more about the Challenger bread pan, simply drop us an email at info@deliverdeli.com.
Your first tasty test Loaf using the Challenger pan
Place the pan in your oven and preheat to 500 °F (260 °C). Heat the pan for 1 hour.
Add your bread dough
- Carefully remove the pan from your oven.
- Remove the lid and take care to avoid any omitted heat.
- Place the dough onto the base. Score the dough top as you like.
- Add two ice cubes to each side of the dough and promptly return the lid.
Bake (Cook)
- Return the pan to the oven.
- Reduce the heat to 425 °F / 220 °C.
- Ensuring the lid covers the dough, bake for 20 minutes.
Bake (Colour)
- Remove the pan from the oven and take care to remove the hot lid.
- Invert the lid and place onto a solid surface. A chopping board is ideal.
- Place the base on top of the now inverted lid.
- Use a firm grip to hold the inverted base and return both to the oven.
- Bake for another 25 minutes, or brown your dough as required.
General Tips:
Use good oven gloves to handle the pan.
Lining the pan base with parchment paper is a good way to avoid contact with dirt and debris. It can also help you to retrieve your bake once fully cooked.
When browning, leave the lid in the oven, on another shelf. This will dry out any moisture that’s built up.
Store the Challenger bread pan in a dry place. A cupboard or oven is ideal.
Upkeep
Seasoning
What’s seasoning? Oil layer(s) applied to steel or cast-iron metal. When baked in, the oil seals the metal pours with a protective film coat. Correct seasoning will repel water and help to avoid dough adhesion.
In most cases, pans, trays and pots have a machine surface layer applied to them in the form of enamel or none-stick coating. This coat can partially break down with use and is difficult to maintain.
The Challenger pan comes pre-seasoned for first use. The seasoning is made up of three layers of organic grapeseed oil (carefully applied by hand).
How does seasoning break down?
The same steam used to help lift your loaf can break down parts of the coating. Steam is an irritant to oil seasoning. After regular use, some spotting may occur as a result of steam.
Re-seasoning
It’s generally best to re-season the pan in-between each bake. This will ensure the base coat, or primer layer, remains intact at all times. The re-seasoned top layer will act as a sacrificial coat.
Carefully apply a very thin layer of oil with a lint-free cloth, to light spots. A vegetable or olive oil is a good choice for this. Extra-virgin olive oil can’t withstand high heat, so it’s advised to avoid this.
Place the pan into the oven and bake at 250-260°C for 15-20 minutes. Smoking indicates that the bond of oil to iron is working and can be ignored. This is simply polymerisation in action.
Sourdough Hydration Calculator Buy a Sourdough Starter Sourdough Recipes
 Challenger Bread Pan
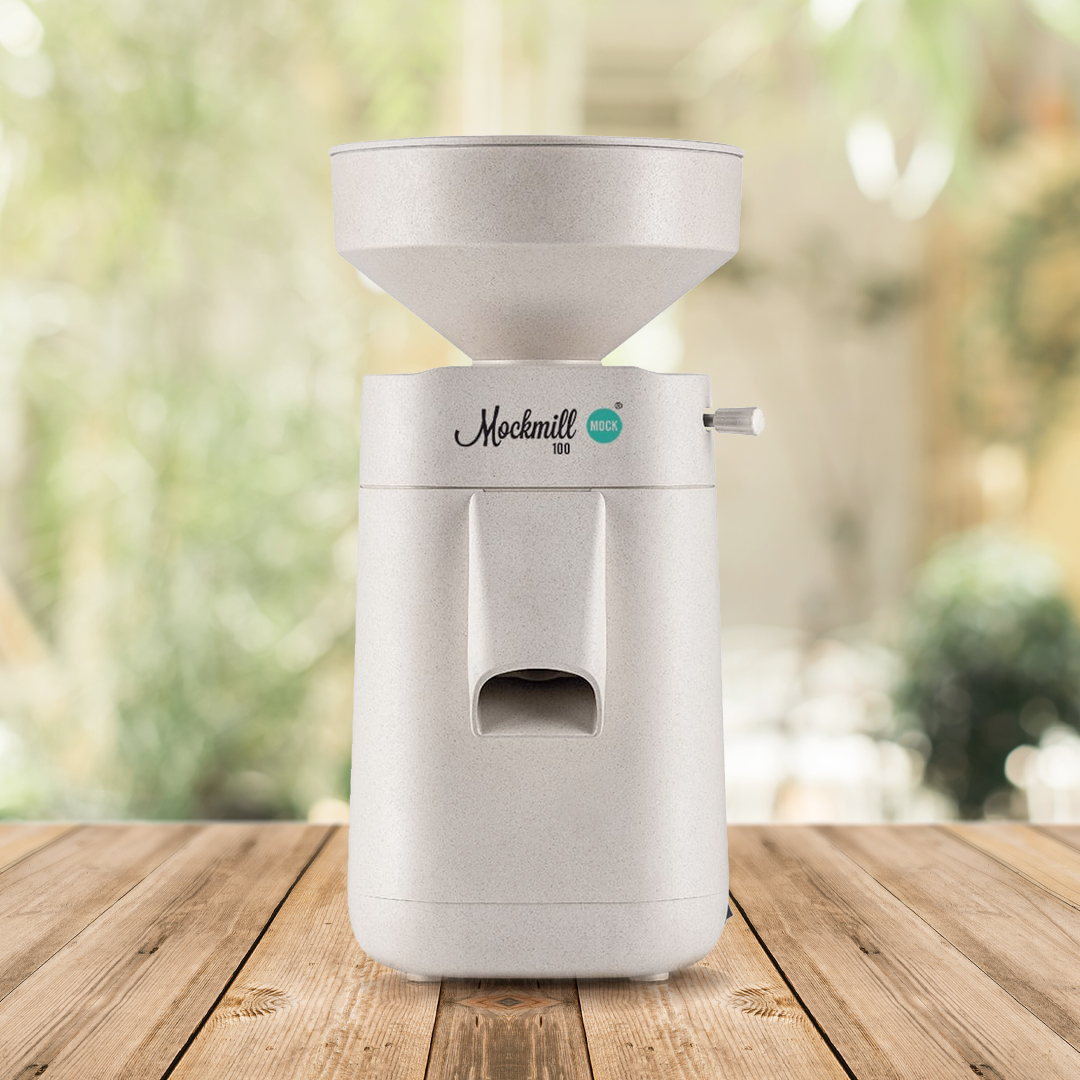
 Mockmill 100 Grain Mill
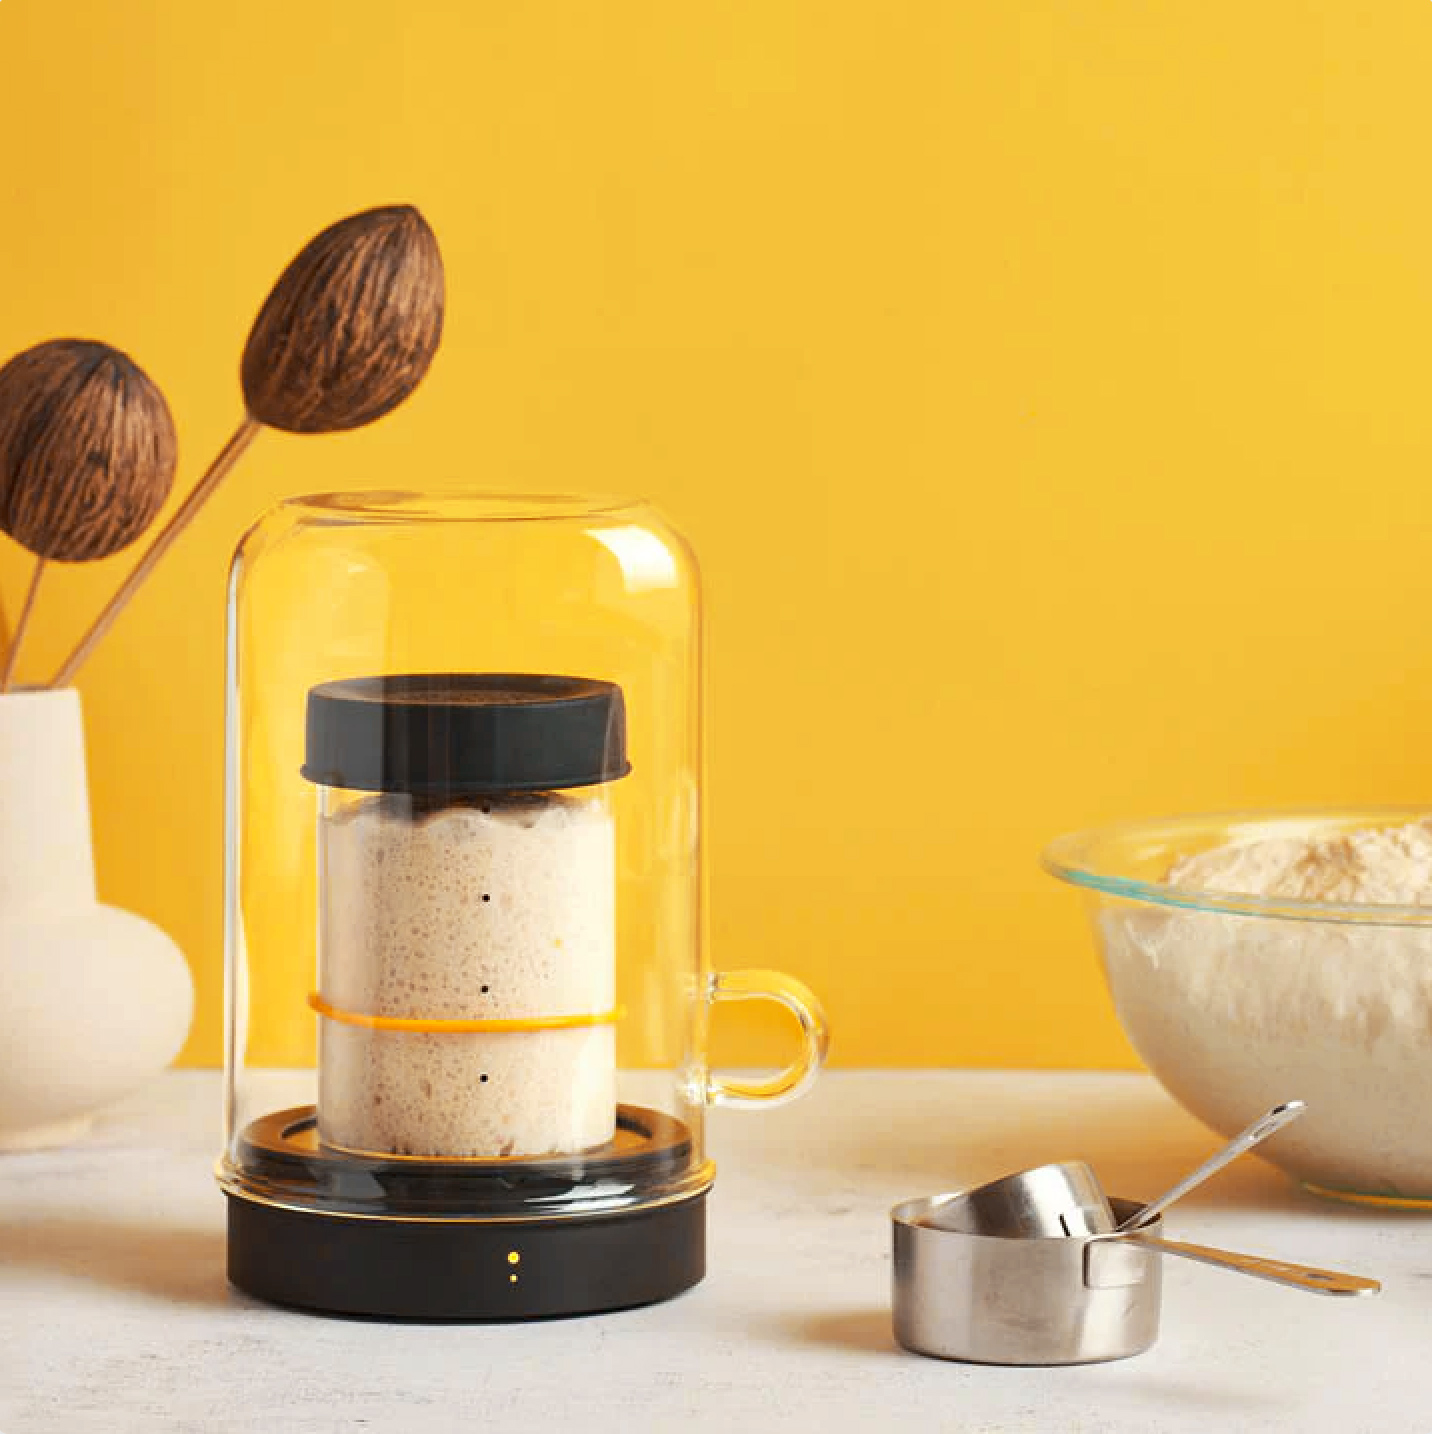
 Goldie Sourdough Warmer
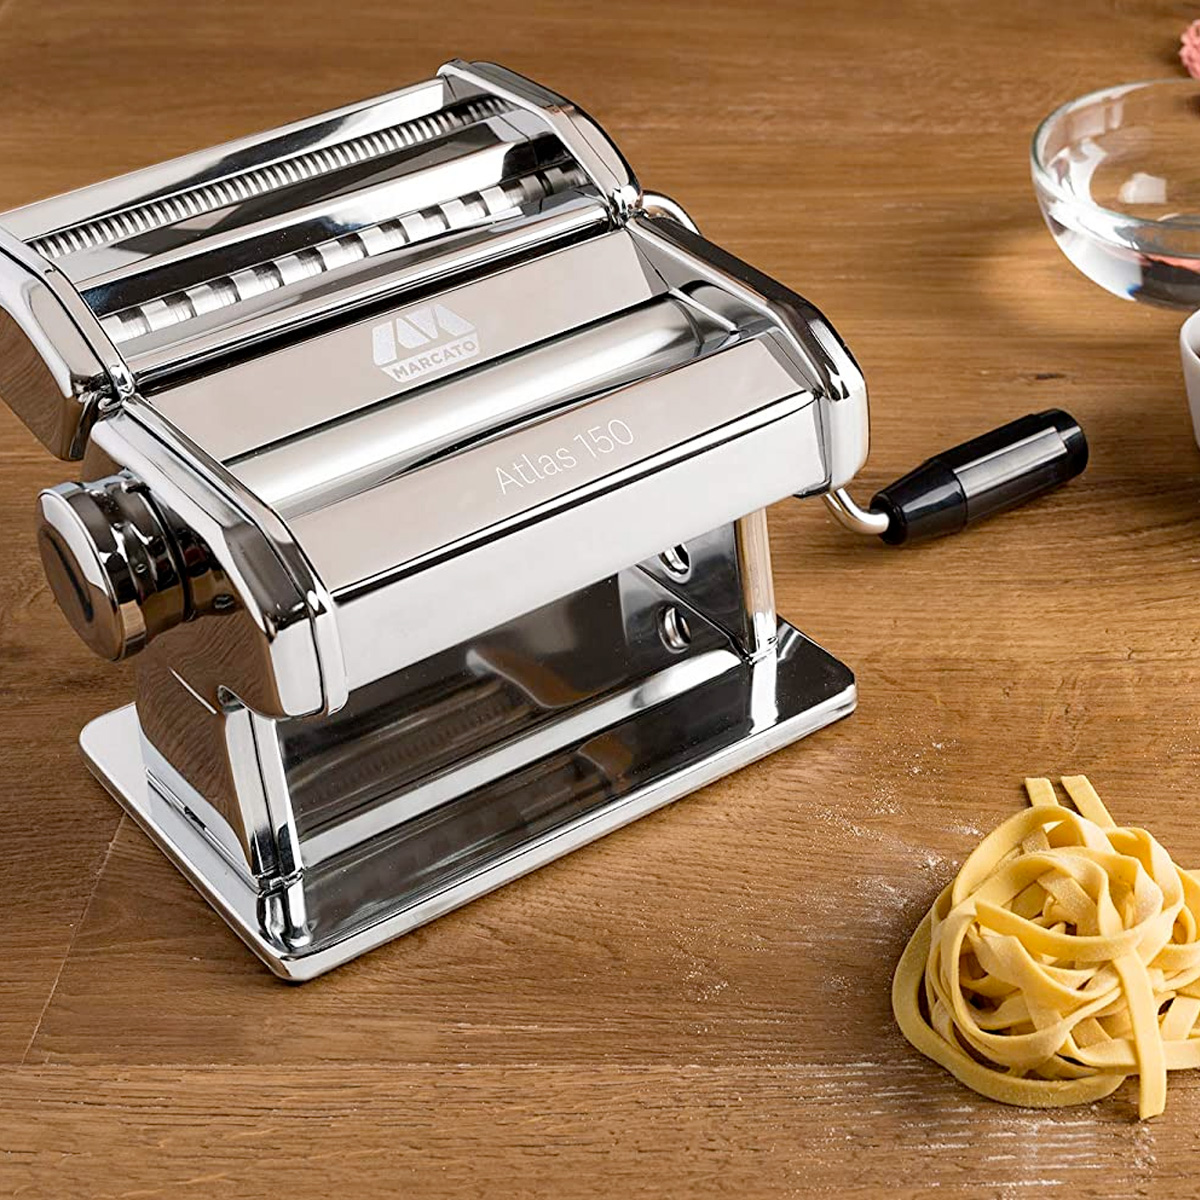
 Marcato Atlas Pasta Machines
Leave a Reply